Today we are going to see how to install a printer on Linux. Despite what you might think, this is a very simple procedure. Even simpler and faster than in Windows. And that’s because it doesn’t involve manually downloading drivers. In fact, the system does everything almost automatically. Well, enough talk. Let’s see how it’s done!
Prerequisites.
For this example, we will use Ubuntu in its 18.04 LTS version. Additionally, this operating system can be downloaded for free from this link. On the other hand, we will use an HP Model D1560 printer as an example.
Installing the printer on Ubuntu 18.04 LTS (Steps)
- As mentioned above, we will be using Ubuntu as our operating system. In the first place write Printer to enter that section and then click on Printers.

- Then connect the printer. The process should start automatically. However, if not, click on Add printer.

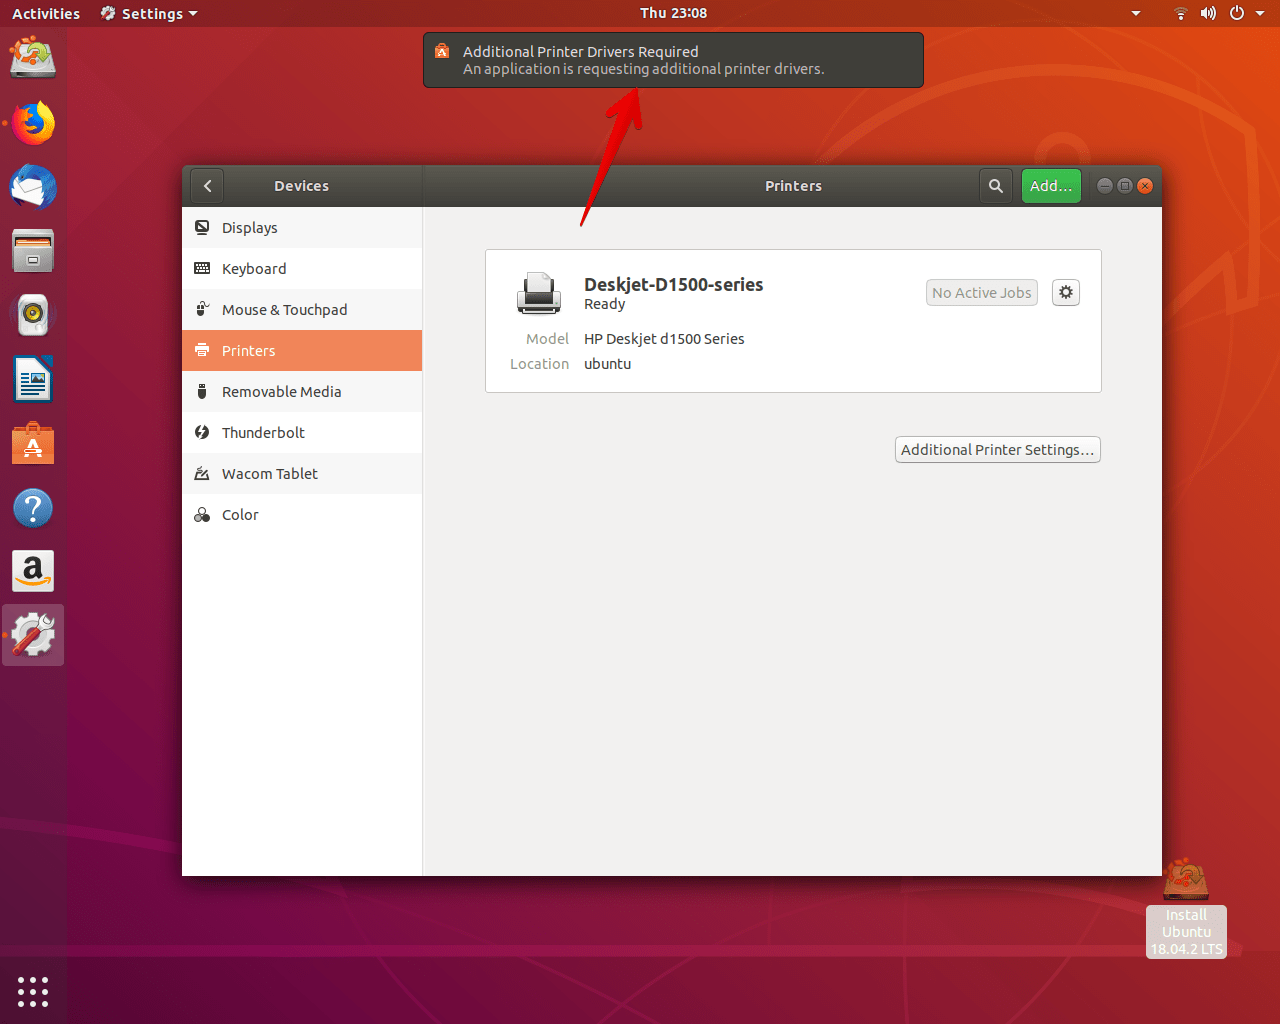
- Immediately a window will be displayed, where you will see the correctly added printer.

- As mentioned above, the procedure is quick. After a few seconds, the system warns that it will start downloading additional drivers. These files improve the functionality of the printer. However, the printer is already installed correctly.

From this point on, the printer is available and ready to run jobs. As you can see, it is a safe and very simple process to do. I hope this guide is useful to you.


