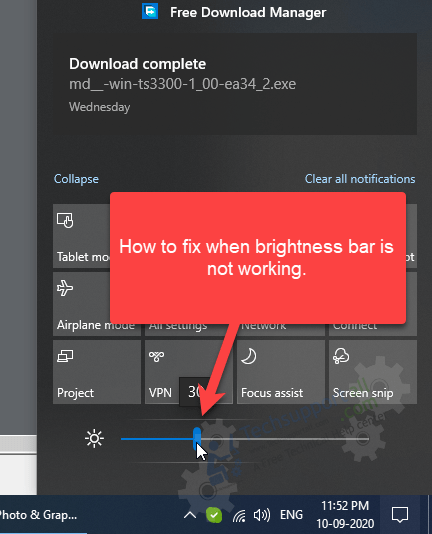
The ability to adjust the screen brightness is an important feature that allows you to get the best view of your monitor screen based on the environment and in case of laptops, it’s also helpful in saving battery usage. However, when your Windows 10 brightness control stops working then it can be really annoying, especially if you have a habit of tinkering with brightness settings. Therefore, in this guide, we will explain in detail how to fix Windows 10 brightness control not working problem.
Causes Behind Brightness Control Problems
When brightness control stops working on your computer, then usually this problem is associated with monitor driver and display driver malfunction. This malfunction of drivers can happen due to multiple reasons, like another device driver was installed and some display driver got corrupted, your existing drivers have gotten outdated, etc. It doesn’t matter what caused malfunctioning of your drivers, the solution is the same, which is to update your drivers with its latest version.

When updating your drivers you have two options: either you can go for some software to automatically update your drivers or you can manually update your drivers. In the first option you may have to buy software, but the second option is completely free, which is what we are going to describe below.
How to Fix Brightness not working windows 10?
Update your Monitor Driver and Display Driver.
The steps given below is for manually updating the monitor and display drivers in your Windows 10 computer. Read the steps given below carefully and execute them in the same order as they have been mentioned.
- Click the ‘Search’ icon and type ‘device’. From the search results open ‘Device Manager’.

- In the Device Manager window, click to expand ‘Monitors’.

- Right click the name of the monitor and select ‘Enable device’.

- Again, right click the name of the monitor and this time select ‘Properties’.

- In the Properties window, click on ‘Driver’ tab and select ‘Update Driver’.

- Now, click on ‘Browse my computer for driver software’.

- Next, click on ‘Let me pick from a list of available drivers on my computer’.

- Select the right driver and click ‘Next’.

- Wait for some time so that the updating of driver gets completed. Then, click on ‘Close’.

- Again in the Device Manager window, click to expand ‘Display adapters’. Then, right click the display adapter and choose ‘Update driver’.

- Select ‘Browse my computer for driver software’.

- Click on ‘Let me pick from a list of available drivers on my computer’.

- Select the right driver and click on ‘Next’.

- Wait for some time for the completion of driver update. Then, click on ‘Close’.

- That’s it, you have successfully updated your monitor and display adapter drivers.
How to fix Windows 10 brightness control problems that are not working can be a highly frustrating question for some users. It’s better to solve this problem as soon as possible otherwise your viewing experience can put unnecessary strain on your eyes and your laptop can experience sudden drain of battery power. However, if you follow the steps given in this guide, then you will be able to resolve this problem permanently.


