Windows 10 is an operating system that gives its users several features which can enhance their productivity. One such feature is to help other devices project their screens onto your Windows 10 display. Since this capability is an advanced feature, it needs to be properly configured for its efficient working. Therefore, while trying to use this feature most users encounter errors. In this tutorial, we will tell you how to fix the “Projecting to This PC” feature disabled error on your Windows 10 computer.

What is “Projecting to This PC”?
Projecting to This PC feature allows you to wirelessly connect with a monitor on another computer and use it as your second monitor. You can also project the screen to another computer or device on your computer screen. It’s like growing your screen size without spending any extra money. You can play movies, games, etc. on your smartphones while watching them on your large computer screen, or else, you can display presentations on a smart TV while you are working with them on your laptop. This feature truly enhances your productivity and working capability if you can use it wisely.
What are the Common errors in “Projecting to This PC”?
While working with Projecting to This PC feature is available on Windows 10 and several users encounter errors. The most common errors are:
- Error 1: Projecting to this PC not available
This error usually occurs when you haven’t activated this feature on your Windows OS. The easiest solution to this problem is to enable this option. - Error 2: Windows 10 projecting to this PC we are still trying to determine the feature capabilities

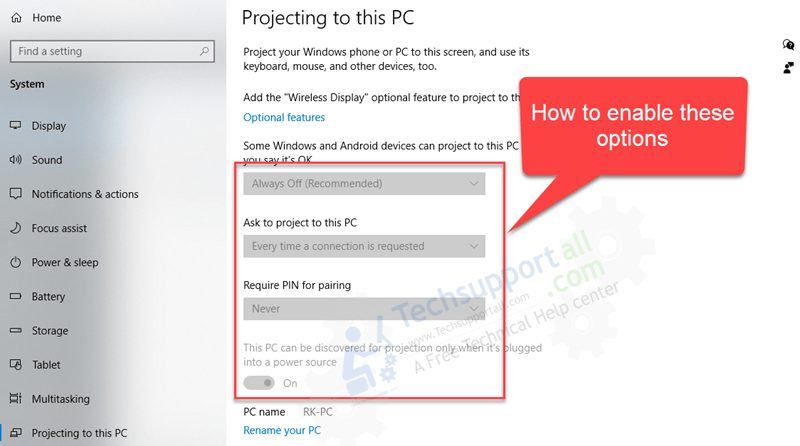
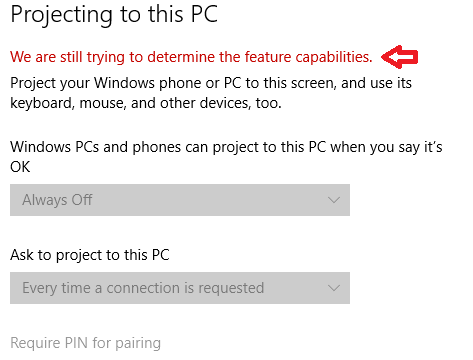
This error is shown when you try to enable Projecting to This PC feature. Usually, with this error you will find that all the options are grayed out, which means you are unable to change them. Since, this error says that Windows is unable to determine the feature capabilities, most users think that there are some missing options which they are unable to find, but that’s not true. - Error 3: Projecting to this PC windows 10 not working
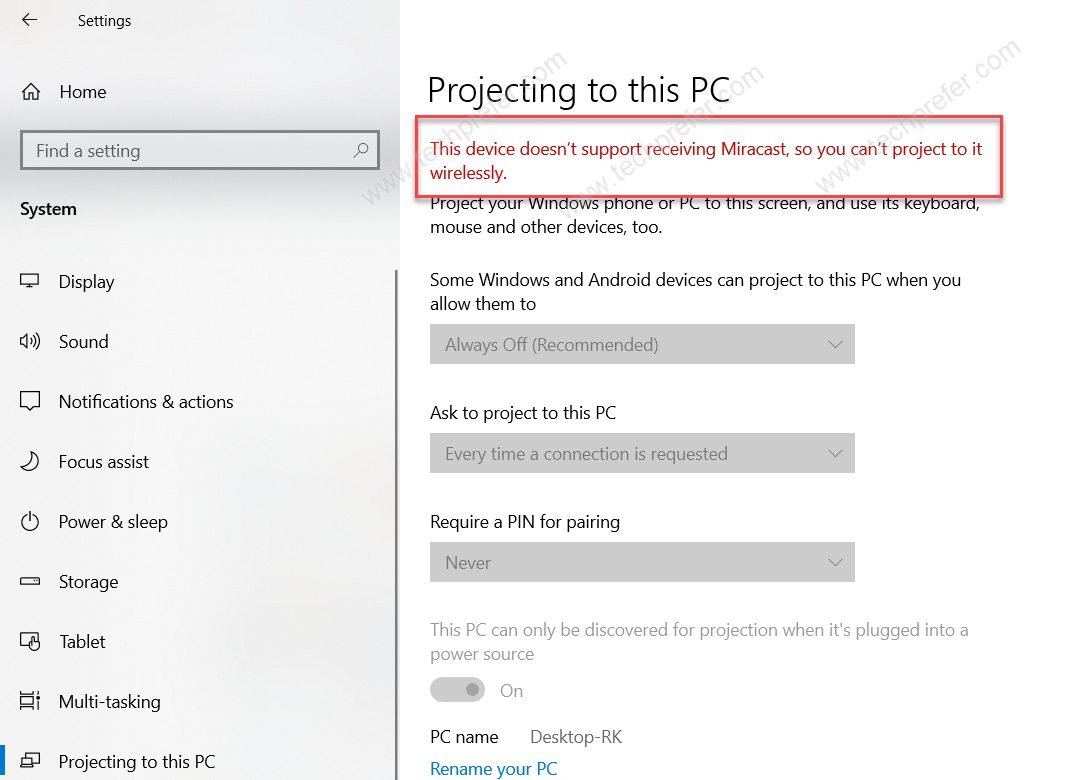
This error is usually displayed when you try to use the Projecting to PC feature on your computer when it’s not properly activated. - Error 4: This device doesn’t support receiving Miracast, so you can’t project to it wirelessly.
This means that your computer is a desktop computer and connected to the Internet or Network through Ethernet cable, instead of connected through WiFi card. Eventually, your computer won’t have a wireless card, which is why you are getting this error message.

Although all these errors may seem to be different, but they all have the same solution. We will describe that solution below in our simple to follow step-by-step guide.
How to Fix “Projecting To This PC” Option Disabled (Grayed Out) in Windows 10
In the step-by-step guide given below we will describe the solution to this problem, please follow the steps in the exact order as they have been mentioned.
Before you apply the solution, we will be sharing the link below, you must make sure that your computer is connected to an uninterrupted and reliable internet connection. While executing this solution you will have to download and install some apps on your computer for which an active internet connection is a must.
- Click on the ‘Start’ button and choose ‘Settings’ from the menu.

- In the Settings page, click on the ‘System’ option.

- In the System page, click on the ‘Projecting to this PC’ option.

- Now, you can see that all the options are greyed, which means you can’t change them. To solve this problem, you will have to install the Wireless Display feature on your Windows 10. Let’s do that.

- Go back to the Settings page and choose ‘Apps’ option.

- Under Apps & features section, click on the “Optional Features” link to proceed.

- In the Optional features page, click on the ‘Add a feature’ button.

- In the pop-up box, search ‘wireless’ and in the results locate ‘Wireless Display’.

- Click the check-box in front of the ‘Wireless Display’ to select the app, then click on the ‘Install’ button to start the installation.

- Wait for Windows to download and install the Wireless Display app on your computer.

- When you see “Installed“, it means the app has been successfully installed on your computer.

- Go back to the Settings page and choose ‘System’ option.

- In the System page, click on the ‘Projecting to this PC’ option.

- Now, you can see all the options that are enabled and you can change them according to your requirements. You can click on the “Launch the Connect app to project to this PC” link to start using this feature.

That’s it, you have successfully enabled the Projecting on this PC feature on your Windows 10 computer. Your computer is now ready to project its display screen on another device and to project the display screen of some other device on your monitor screen.
My Views
The solution on how to fix the “Projecting to This PC” option disabled in Windows 10 given above is going to help all those users who are unable to use this amazing feature. However, you must know that there are some hardware requirements that your computer must fulfill before it can utilize this feature. The solution given above is only going to work for Windows 10 computers which fulfills those hardware requirements.


Thanks a lot…!! Absolutely spot on! It solved my problem.
I cannot find the projecting to this PC option on my laptop, what do I do?
What error message did you get at the top of the “projecting this PC” page?
The projecting to this PC option is not even available for my laptop like it does exist.
What error message did you get at the top of the “projecting this PC” page?
The option is physically not there, I have the same issue. In settings, under System, I get Display, Sound, Notifications & Actions, Power & sleep, Storage, Multitasking, Clipboard and About. That’s it.
Wireless display Not installed
Could you please provide a screenshot of the issue? Take a screenshot of the problem and upload it to https://imgur.com/ and share it its link here.