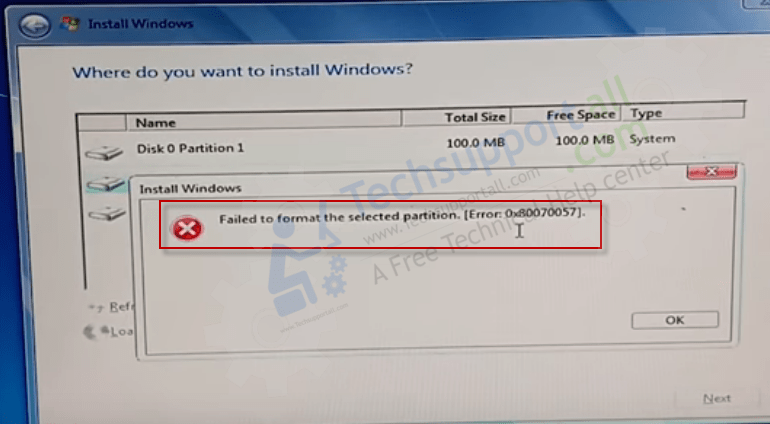
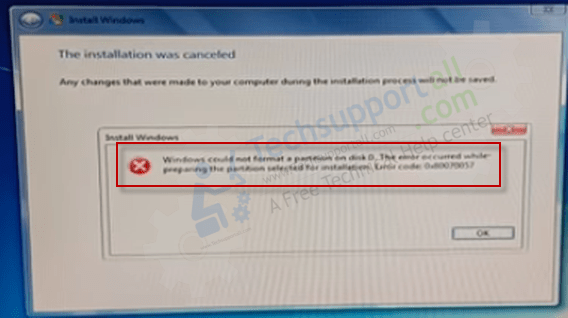
Hi, today in this article we’ll discuss an error message which occurs while installing Windows 7, 10 on a computer. Sometimes, you get this error message while formatting system drive: “Failed to format the selected partition. [Error: 0x80070057]”.


Cause:
There might be two reasons behind that. First is due to virus infection and second, maybe due to bad sector happens in your hard drive. Due to these two reasons, your hard drive couldn’t format correctly. In some cases, formatting disk/partition through USB bootable stick couldn’t format the drive due to unknown reason.
Solution:
If your drive has a virus, then you’ll have to remove the virus before reformatting the drive. Plug your hard drive to another computer and scan it for the virus.
If your hard disk has bad sectors, then you’ll have to format through “Low-level format.”
Before going through these above solutions, we’ll give you another method to fix it – using command prompt’s diskpart tool. Please follow the steps to fix this issue.
How to Fix error “Failed to format the selected partition [Error: 0x80070057]”
Follow the below-given step to fix failed formatting issue.
Steps:
- Reboot your computer.
- Click on “I agree” and click on Next to install Windows. And then the error message will come up again. Please wait for it.
- Once you get the select partition screen, press Shift + F10 keys together in combination from your keyboard, you’ll get the command prompt (Black) window in front of you.
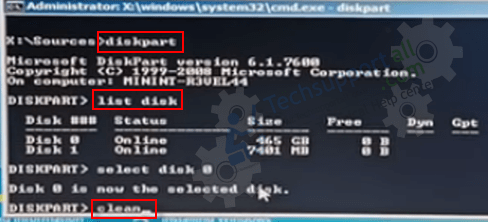
- Type “diskpart” command in the command prompt window and then press the enter button. Diskpart is an inbuilt utility of Microsoft Windows to create the partition. Click here for more detailed info about DISKPART tool.

- Type the “list disk” command and press enter after every command. It will show you all the disk which is plugged in into your computer. You need to select the appropriate drive.
- You need to enter the disk number of your hard drive by following the select command. Type the following command “select disk 0” and press enter button (Type 0 if your hard drive number is 0. Type 1 if your hard drive in number 1). The drive will be selected after that. You are in that selected drive now. All the further commands will for the selected drive only.
- Type one more command “clean” and press the enter button. Once you run the clean command, your hard drive’s all the partitions will be deleted and converted to “Unallocated space.” After finish, you’ll get the success message: “DiskPart succeeded in cleaning the disk.”
Note: Before running this clean command make sure you have been taken the backup of your Important data from the selected disk because all the data will be lost by running this clean command. - Now we are going to create the first partition. Type the command “Create partition primary size=50000” (size=50000 for 50gb, change the partition size accordingly.) and then hit enter button. It will create the primary partition.
- Use the same command “Create partition primary size=450000” to making more partitions.
- To see the just created partitions, type the command “list part.” You’ll see the two partitions 50gb and 450gb.
- Now, you’ll have to make the partition 1 to active partition where we can install windows in it. The Windows partition should be “Active” one. So, type the command “select partition 1.”
- Now type the “Active” command. The partition is active now.
- Now we are going to format this C drive, follow the steps. Type the command “format fs=ntfs quick” and then press enter button from your keyboard. It will take time format the partition. That’s it, now exit from the command prompt window by typing the “exit” command and then press the enter button.
- Now click on “Refresh” button from the Windows installation windows where you need to select the disk to install windows. All the created partitions through command prompt are listed after pressing the refresh button. We have already formatted the C: partition through command prompt. If you want to format the partition again for checking, then you may format it from here as well. Select the C drive and then click on Next. After clicking on Next, you can see that the windows installation will start copying the files and installing as well without error “Failed to format the selected partition. [Error: 0x80070057]”.
Also Read: How to Fix Error Code 0x80070035 the Network Path Was Not Found.
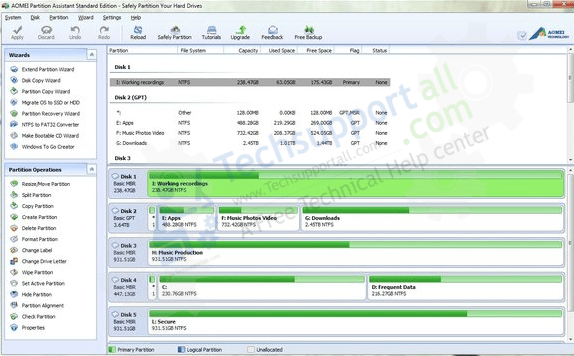
If the above steps don’t work for you, then we suggest you to please do the same thing through AOMEI Partition Assist Tool. In this case, you need to connect this disk to another computer as an external drive. It is a freeware utility to create the disk partition.

Please do not hesitate to leave your message in the comment section below. All the best!

Always got stuck on step 8… “no usable free extent could be found. It may be that there is insufficient free space to c……..”
In step 8, don’t type the exact same command given, change the partition size according to availability or requirement. If still facing the same problem them please provide more details like your total disk size and your desired partition size.