Error “Windows Update 0x800f081f ” message shows up when you try to install an update from Microsoft for Windows 10, but it fails. The update it affects is called Cumulative Update KB4054517. Usually, the update seems to be working normally to start with, but when you get close to the end, the 0x800f081f error message is shown together with an “update failed” message. Here’s how to fix Windows Update 0x800f081f quickly and easily.
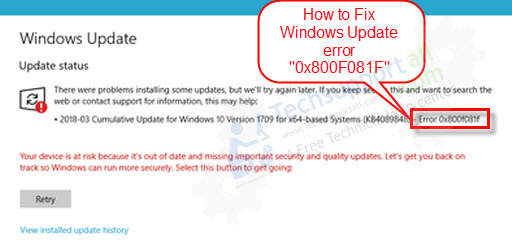
Error Message:
Windows couldn’t install updates
There were some problems installing updates, but we’ll try again later. If you keepseeing this and want searcg the web it contact support for information, this May help: (0x800F081F)
How to Fix Windows Update Error 0x800f081f
We are giving you some possible methods that may help you to fix error 0x800f081f. Please follow the following methods.
Method 1: Remove the USB device from computer
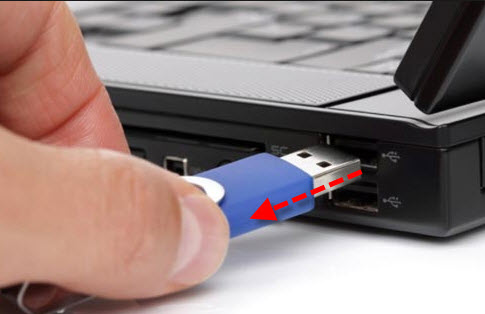
There is a possibility that the update error can happen due to a USB device you have attached. For that reason, it’s a good idea to unplug all the USB devices you can, such as WiFi receivers, flash drives, and USB printers. If you don’t, you may still end up getting the error message.
Method 2: Use Windows Update Troubleshooter
This is a simple way to try.
Click on Start button and click on search bar and type there “troubleshooting” click on found result which is from control panel.
The go to “System & Security” Then click on “Fix problem with Windows Update” to execute the Windows update troubleshooter.
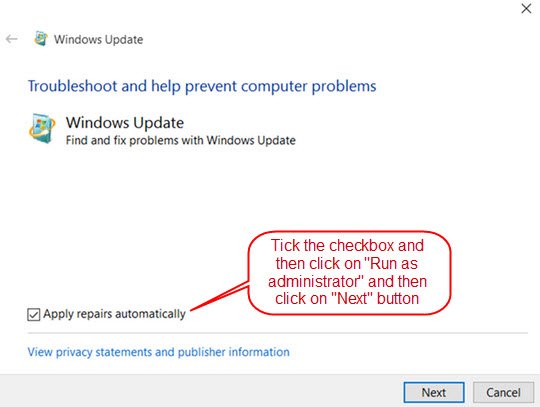
After launched the troubleshooter, click on advanced and set as “Apple Repairs Automatically.” then click on “Run as Administrator“. Then click on “Next”
The program will give you clear instructions on the screen about what to do. When you’ve completed the steps, try updating Windows again.
Method 3: Install the Windows Update Manually
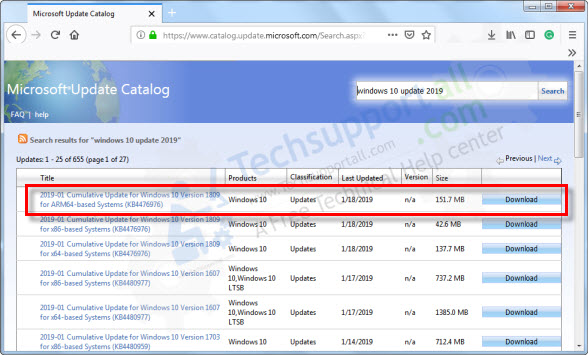
Go to the “Microsoft Update Catalog history” and download the windows update latest standalone file and then install it manually. There is a search button on right side of the page to search your missing updates.
Method 4: Reset the Windows Update Components
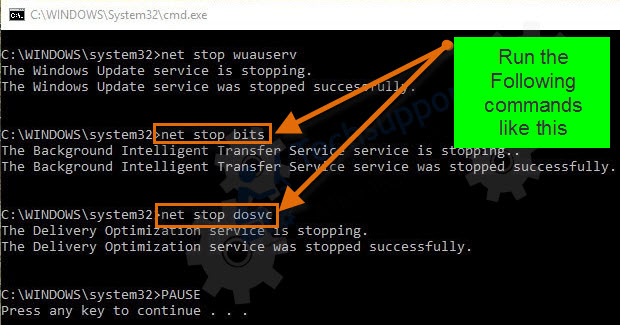
Here in this method we’ll show you how to manually reset Windows Update components. We are sharing with you a Microsoft article which will guide you how to do. So please follow the following article’s steps: https://support.microsoft.com/en-us/kb/971058
Method 5: Run System File Checker tool and DISM
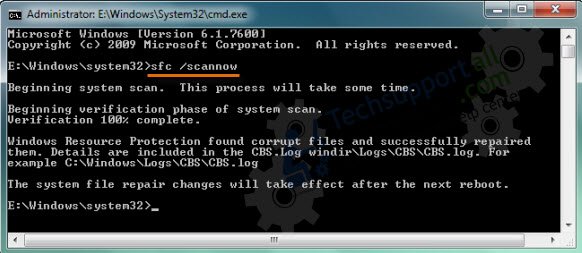
Sometimes the system files are gone missing or corrupted due to many reasons. Maybe in your case, it will work for you. In this case, Windows has a built-in tool “System File Checker tool.” It has auto repair capability to repair the ccorrupted files. We suggest you run it once to diagnose Windows Update 0x800f081f. It’ll pointout directly where the problem is. Please follow the following article’s steps:
https://support.microsoft.com/en-us/kb/929833
https://support.microsoft.com/en-us/kb/947821
Method 6: Enable .Net Framework 3.5
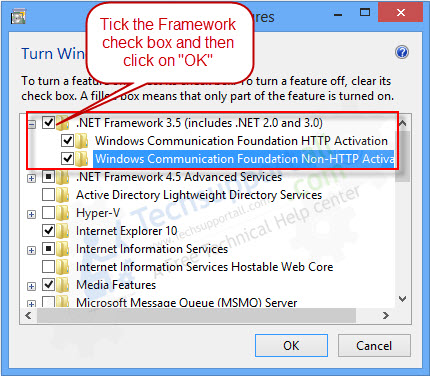
One common reason for the 0x800f081f error is that .Net Framework 3.5 is missing. To get this, press Windows+R and type “appwiz.cpl” then press OK. Choose “Turn Windows features on and off” and find the “.Net Framework 3.5” entry. Make sure it’s switched on. Pick “Download Files from Windows update” and install the framework. When that’s done, reboot your PC and try the update again.
Method 7: Delete the Windows update download location
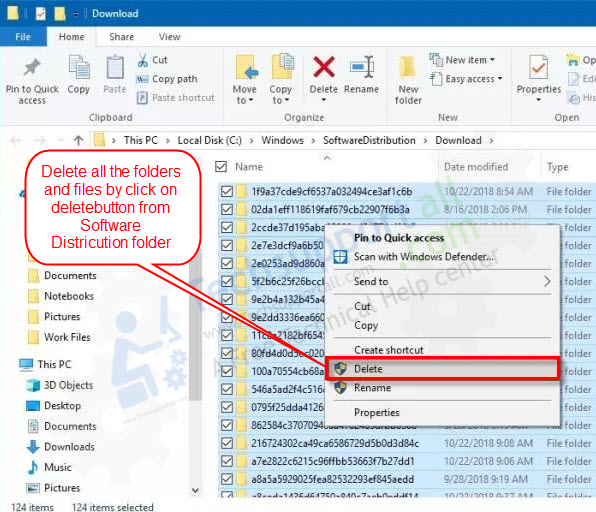
Sometimes, the C:\Windows\SoftwareDistribution folder can be corrupted, and since this is where Windows Updates are stored it can cause the error message to appear. Press Windows+R and type “services.msc” then press OK. When the control panel appears, click on “Windows Update” then “Stop.” Next, either delete the folder mentioned above, or rename it to something else. Go back to the Services control panel and restart Windows Update. Finally, go to the Microsoft site, find “2017-12 Cumulative Update KB4054517 for Windows 10 Version 1709” and install it manually.
Method 8: Fix it through Winows 10 Upgrade using installation disk
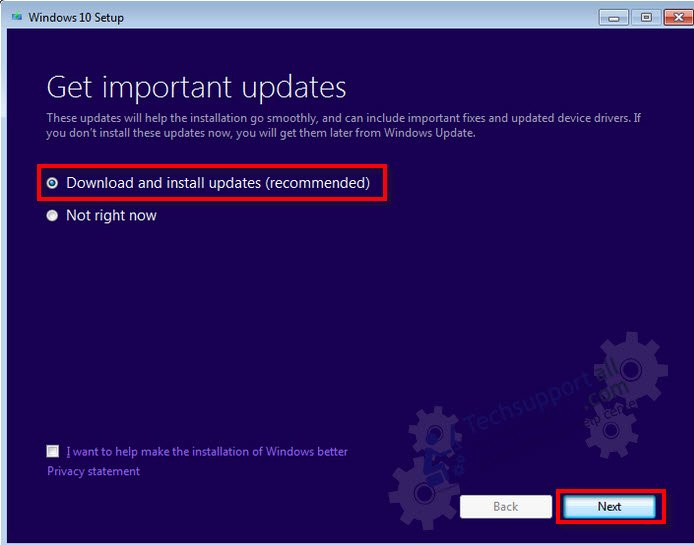
This is another way of repairing Windows 10 that may help you fix error 0x800f081f. You’ll need to create Windows 10 installation media, then use the Setup application on the new media. Accept all the default options, especially in the “Get important updates” section. When you’re done, you’ll be able to log into your account in the usual way.
